The Benefits Of A Transmission Engine Rebuilding
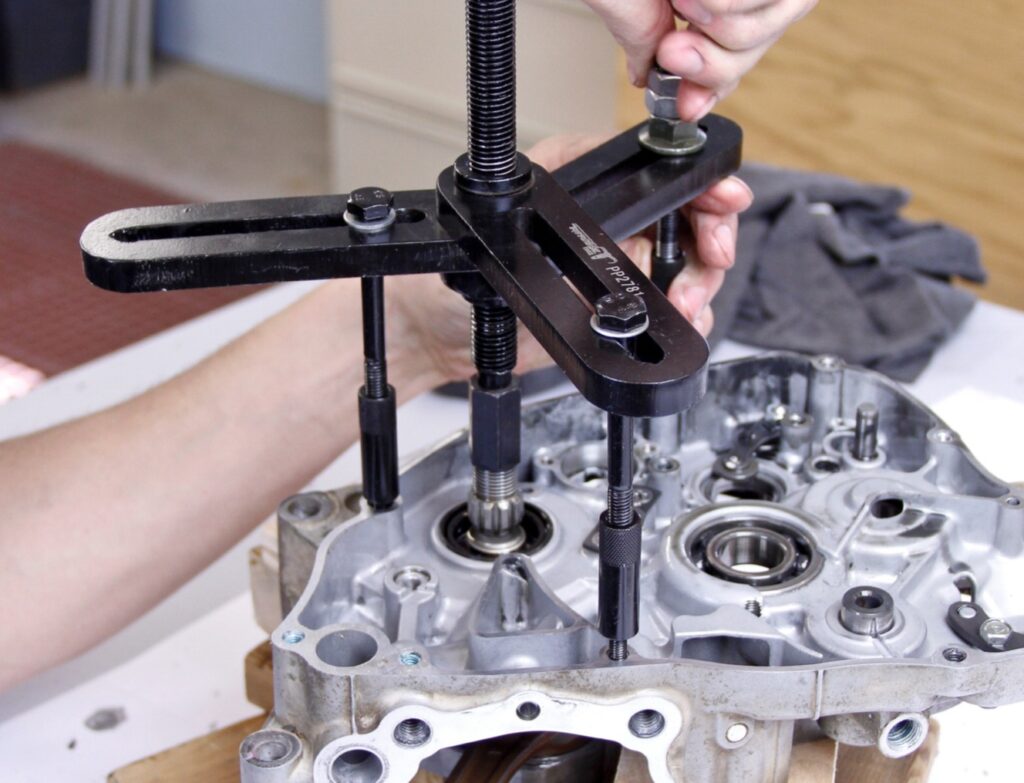
Tips for a Dirt Bike Bottom End Rebuild
Rebuilding the bottom end of your engine, whether two or four-stroke, can be a fun and rewarding job. Additionally, a considerable amount of money can be saved by taking on the work yourself versus tasking a shop to perform the work. These statements are only true, however, assuming the bottom end rebuild is performed correctly. This is a huge caveat, and for the average weekend warrior who doesn’t perform this task often, unfamiliarity with technique and componentry can lead to errors.
Successfully rebuilding your bottom end starts with planning and preparation. Starting with tools, you’ll need a few specialty tools in conjunction with your standard sockets, wrenches, etc. Namely, the correct flywheel puller for your specific engine, a flywheel holding tool, a crankcase splitting tool, a blind bearing puller, and a crankshaft puller. Using heat to assist in removal/installation of the bearings and crankshaft is an effective method, so an oven and freezer are also noteworthy items.
You need to have a copy of the factory service manual or equivalent for your particular vehicle. I highly recommend reviewing the sequence of events and procedure in advance of executing the work.
Bottom ends are taken apart for many different reasons. If a major failure occurred, the scrutiny of the rebuild will be at a much higher level than a bottom end that is merely being reconditioned. If any problems were persistent when the machine was operated, such as a poorly shifting gearbox, or leaks between the crankcases, the causation of these issues must be identified prior to reassembly.
Replacement components are a major factor to consider, both in terms of cost and engine performance, when diving into a bottom end rebuild. Replacing bearings, seals, gaskets, and refurbishing the crankshaft either by rebuilding or replacing it is essential. It’s recommended to peruse your service manual or microfiches ahead of the rebuild to generate a list of replacement components.
Handy XR600R rebuild tips
XR600Rs are pretty bullet-proof but when something does wear out or break there’s nothing much easier to work on (short of a two-stroke) than Honda’s big air-cooled single.
There’s no better guide to rebuilding an XR600R than the genuine factory service manual, but there are a few tricks that aren’t in it…and some anomalies that are.
Time for a refresh?
If something’s gone bang and you’ve got a rod poking out of the crankcase you know you’re up for a rebuild, but the most common reason for unbuttoning an XR600R engine is a top-end refresh.
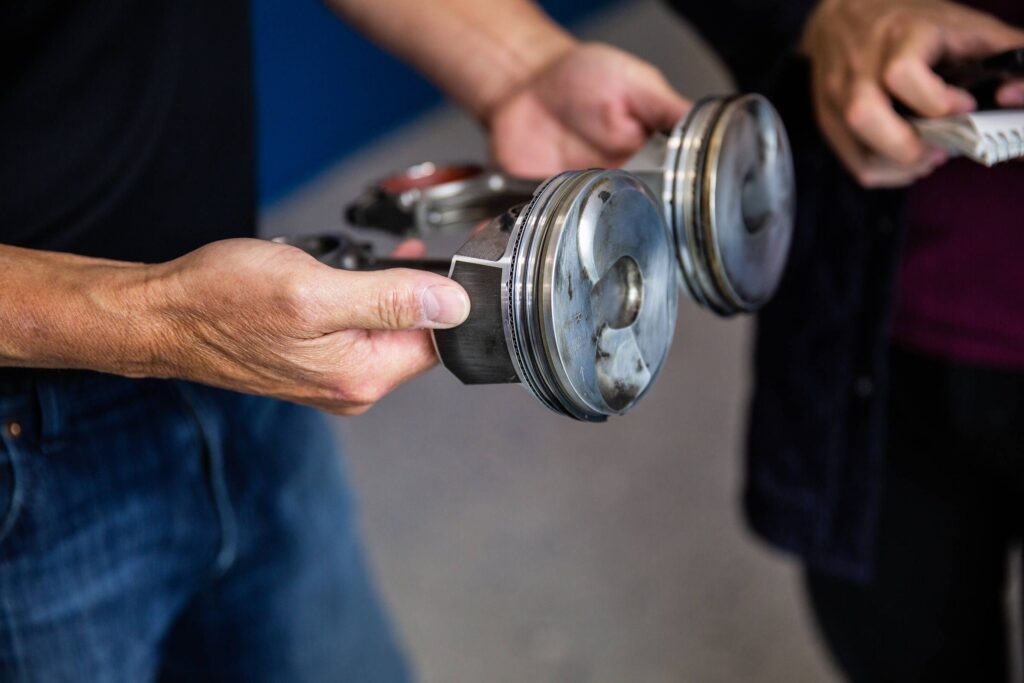
A smokey exhaust and increased oil consumption are the first signs you’ll need to do some work – worn valve seals and piston rings are the usual suspects.
Oil consumption varies. Old (aren’t they all) XR600Rs can use as much as a litre of oil every 1000km and still run pretty good…but it’s a sign they’re well on their way out. By comparison a freshly rebuilt engine will probably use around 200ml per 1000km.
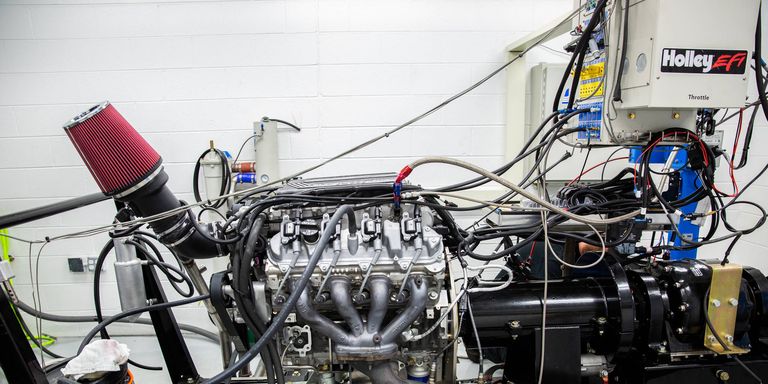
How to start your freshly rebuilt motor with confidence
You’re dripping sweat in your home garage after just stuffing your freshly rebuilt engine into your beloved project car. After days, weeks or maybe months chasing down parts, heading to all the local machine shops and checking (and rechecking) all of the tolerances and procedures, you’re ready to put your pride on the line and light the candle. Hearing your engine run is the only thing you can think about, but these first few minutes the engine is running are the most important time of its life—and your pocketbook
Know what’s going into your engine
Mark Rapson, Lingenfelter’s VP of operations, says the most important thing about firing an engine is having it appropriately lubricated before you even think about hitting the starter button. “It’s like painting a car,” Rapson says. “People see a shiny color and clear coat on the outside, but it’s really the prep. It’s kind of the same thing with a motor. If the clearances aren’t set correctly or you don’t use the proper lubrication, no matter how diligent you are when you start it, you’re going to have failure.”
Choose your fluids
The engine oil and fuel debates will never end, especially as both continue to develop. Lingenfelter usually uses Royal Purple synthetic oils, except for initial engine firing—that’s when the team opts for a tried-and-true mineral oil. Engines using flat tappet camshafts probably will require more of the additive zinc dialkyldithiophosphate than engines with roller camshafts because of the high-wear nature of flat tappets.
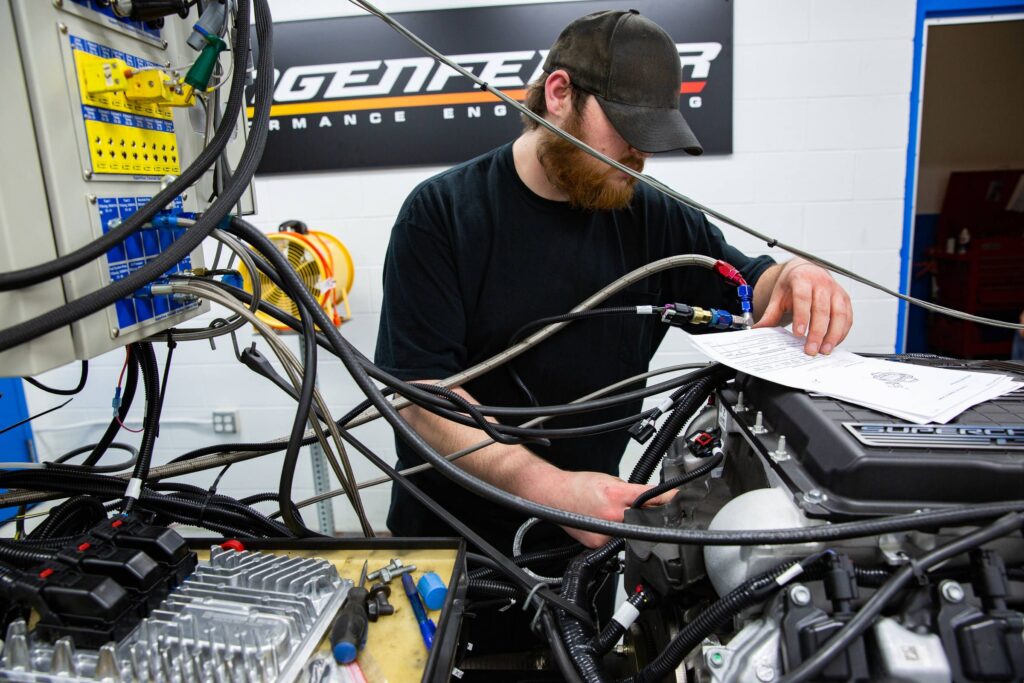
Find your mistakes
Yes, you’ve made one, if not two. Even the folks at Lingenfelter had to chase some fuel-delivery gremlins in their state-of-the-art dynamometer cell. Check your engine for fuel, coolant and oil leaks, and make sure you’re getting power to all of the right places. For computer-controlled engines, make sure that you have the right ECU, tuned correctly for your first fire.
Prime it
Older engines that feature distributor-driven oil pumps sport a handy detail: easy priming. A tool available at nearly any auto parts store can attach to the chuck of a drill and spin the oil pump, priming it. Modern engines don’t rely on distributors, so Lingenfelter simply makes sure there is no fuel or spark and cycles the engine over with the starter to prime the oil system. With the proper assembly lube on the camshaft and other wear parts, this shouldn’t cause any excessive wear and should get oil heading into the right places.
Engine Replacement Tips
Engine replacement requires different approaches for every year, make and model. Consequently, I would suggest getting a service manual specific to your vehicle.
So, Engine replacement is much more complicated than simply pulling the old engine and bolting up a fresh one. If your vehicle is in relatively good shape engine replacement makes more sense than replacing the vehicle.
If Your Old Engine Had 150,000 Miles On It; So Do Other Parts Like;
Power steering
Air conditioner
Cooling system
Charging system
Starting system
Transmission
Sensors and relays
Some Basic Tips That Should Be Done Or Checked; Before Engine Replacement;
Check the motor mounts. Replace them if they are worn; loose or cracked.
Check the condition of the clutch or torque converter, transmission, CV joints, U-joints, etc., and make any repairs as needed.
Some items that will be mounted on the engine such as manifolds; brackets, accessories, spark plugs, oil filters, sensors, etc.; will probably be easier to install on the engine while it is still out of the vehicle. Preassemble as much as you can, then finish the rest of the items once the engine is in place.
Install new oxygen sensor(s). Also, highly recommended on high-mileage engines; to guarantee proper fuel feedback control; good fuel economy; and emissions compliance.
Install new belts and hoses (also, check automatic tensioners and idler pulleys and replace as needed).
Install a new coolant temperature sensor and thermostat. Also, highly recommended; to reduce the risk of overheating and possible engine damage.
Install new spark plugs, plug wires, distributor cap and rotor (if equipped).
Scan the computer for fault codes, fix any problems as needed, and clear the code memory.
Check for any (PCM) flash updates that may be available from the (OEM) and reflash the computer as needed.
Check for any engine related technical service bulletins that are out on the vehicle; and make any upgrades or changes as recommended.
Used Engines
A used engine is one that was likely pulled out a vehicle that was wrecked; or had damage to another one of its mechanical systems; that ended up sending the car to the junkyard.
CUMMINS ISX AND N14 ENGINES: TIPS AND TRICKS FOR REBUILD
The N14 and ISX engines are some of the most popular engines Cummins has produced, and even though the N14 has been out of production for years, many are still in use today. If you’re one of those people who is running either the N14 or the ISX, odds are you’ll need to do a rebuild at some point. We’ve compiled some tips and tricks to help you make the most of your next rebuild on your N14 or ISX.
Completing an inframe rebuild on an N14 is fairly standard, but you shouldn’t ignore the camshaft when you do it. The rebuild gives you the perfect opportunity to investigate for any additional signs of wear.
PROBLEMATIC VIBRATIONS
Unlike on the N14, removing the camshaft is more a part of the rebuild process on the ISX. Once the camshaft or camshafts have been removed it’s a good idea to check for other signs of wear.
CLEANLINESS
Whenever you’re working on your engine, cleanliness is very important. This is especially true of an ISX. This engine is highly sensitive to debris, and it especially becomes an issue when the oil passages are exposed. If debris gets in those passages it can damage other components, like the crankshaft.
GENERAL CHECKS
It’s also a good idea to take a minute or two to observe everything. For instance, check the rocker arm to see if the bushings show signs of wear. If copper is showing, then it’s a good indication that you should replace them.